Beginner Guide to Learning to Draw
If you are a beginner who is learning to drawing this guide can help. It provides some beginner friendly tips and advice on learning to draw the right way as well as links to relevant tutorials.
If you are just learning to draw then you should start with pencil and paper. It’s the cheapest and easiest way to practice even if you would like to later switch to something else like painting or digital drawing.
Tip #1 – Draw on a Regular Basis
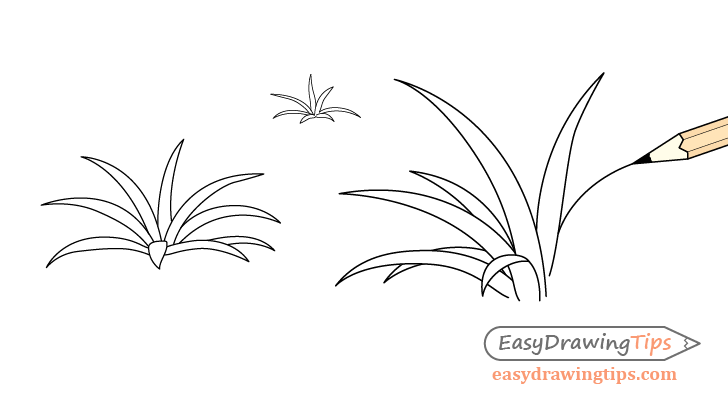
This one is fairly obvious but it should still be mentioned. Drawing just about anything on a regular basis will help you improve.
Drawing or even tracing other artwork will help you build a steady hand which will make it easier to draw as you will have better control.
Tip #2 – Fit Your Drawing to the Drawing Area
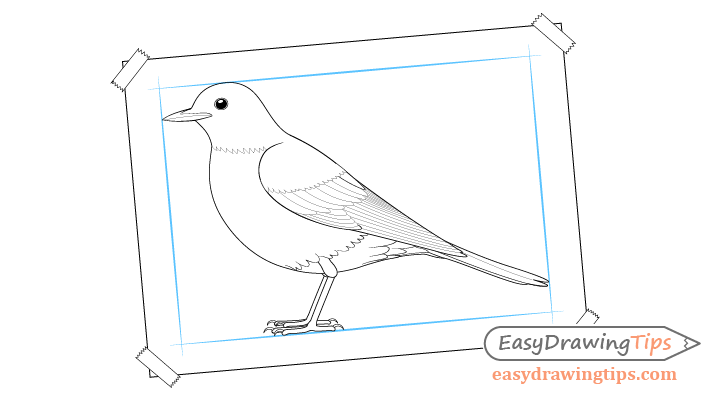
Unless you are making random practice sketches you should try to position and size your drawing so that it fits well into the drawing area. For example if you are drawing on paper try and size your subject so that it covers most of the sheet but leaves enough room on the the sides that it does not feel like the drawing is crammed. At the same time make sure that your subject is not too small for the drawing area either.
Tip #3 – Make a Light Line Drawing First
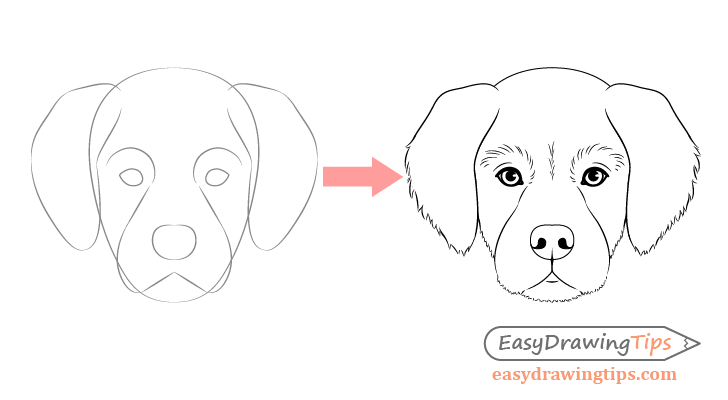
When drawing using pencil and paper make a very light line drawing without too many dtails first and then go over it with darker lines when you are sure everything is correctly placed and sized the way you want.
Tip#4 – Be Aware of Line Quality
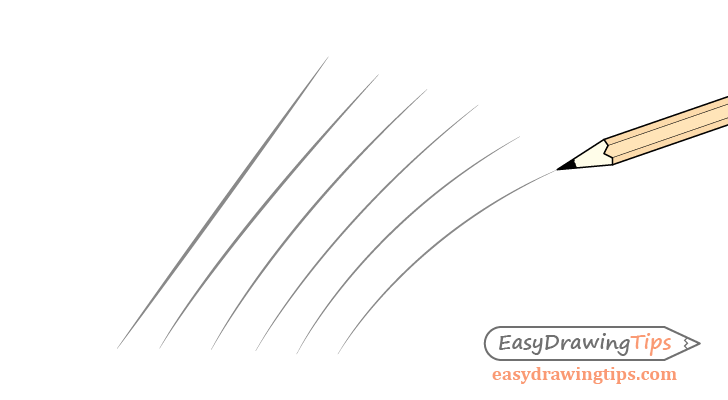
Try and draw with as few strokes as possible using long steady lines. Avoid scribble and/or making many small strokes to draw one line.
If you are making a light line sketch like in the previous tip and make a mistake it’s fine to draw some lines to correct it. If however you make too many mistakes it’s usually better to erase that part of the drawing and start over.
Tip #4 – Be Aware of Proportions
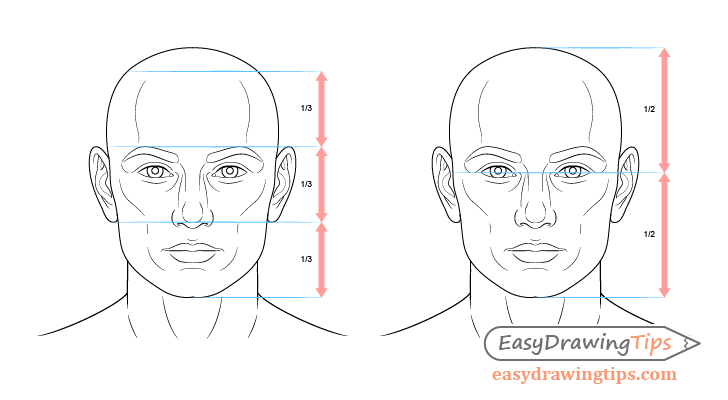
When drawing multiple objects or objects that have multiple parts always try and compare the size and placement of each of these to one another.
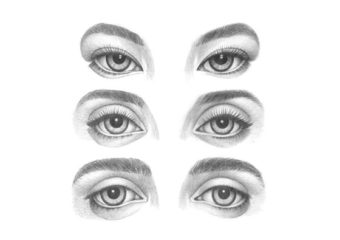
For example in the above drawing the eyes are placed directly in the middle of the head. The placing between the eyes is about the width of one eye.
Taking notes of things can help you avoid making mistakes where one object is up too big, too small or incorrectly placed in relation to another.
For the full tutorial and proportions of drawing a male face see:
How to Draw a Male Face Step by Step Tutorial
Tip #5 – Draw Larger to Smaller
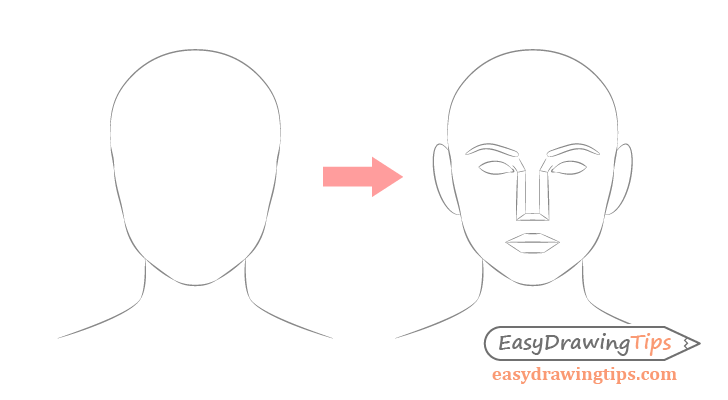
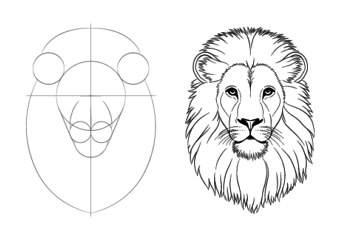
When drawing just about anything try and draw the larger shapes first and work your way down to the smaller details.
If for example you are drawing a face then first draw the shape the head and the neck followed by the overall shapes of the the facial features such as the eyes, nose, mouth, etc… After that you can work your way down to the smaller details like the nostrils, pupils, eyelashes, etc…
Please also note that you do not need to always start with the absolute largest shape just with the larger shapes in general. So if for example you are drawing the full body of a person or an animal you can start with the shape of the head head and then draw the other major parts of the body.
For the full tutorial on drawing a female face you can see:
How to Draw a Female Face Step by Step Tutorial
Tip #6 – Keep the Drawing in the Same Stages of Completion Throughout

This ties in to the previous tip.
Keep the different parts of your drawing in the same stages of completion.
If you are drawing two eyes for example draw the outer shape of each eye and then the pupil of each eye. Don’t fully draw out one eye and then move on to the next.
The reason you want to draw this way is because if you focus on finishing just one eye you may then find that it’s incorrectly placed when you start drawing the second eye. This means that you will then have to backtrack more work than you would if you were to draw the outer shape of each eye right away.
Tip #8 – Do Drawing Exercises
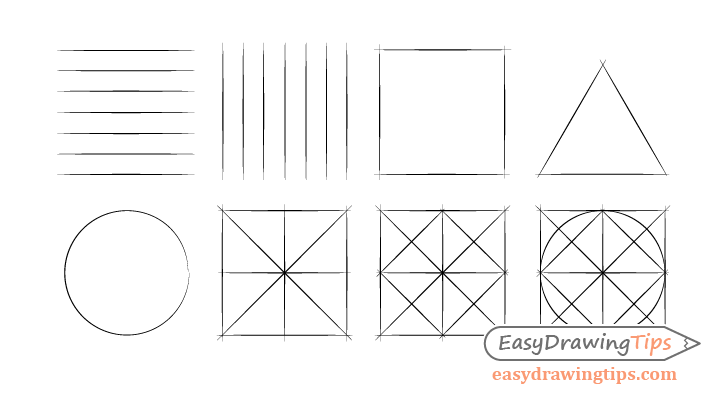
As a complete beginner you can do some basic drawing exercises to help you improve more quickly. These includes things like drawing sets straight and curved lines and basic geometric shapes.
For a detailed drawing exercises tutorial see:
Absolute Beginner Drawing Exercises Tutorial
Tip #9 – Learn Perspective Drawing & Basic 3d Shapes
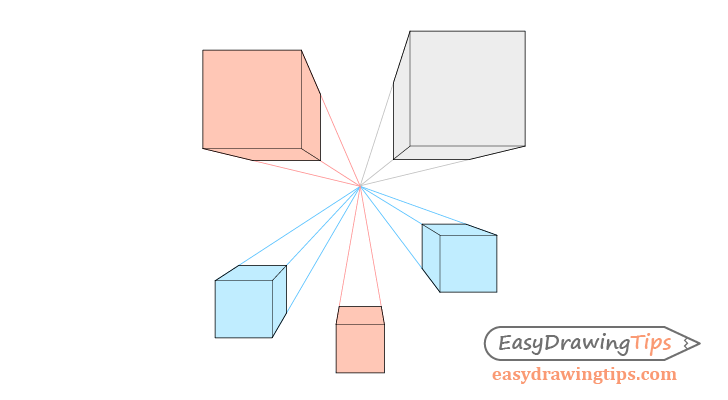
Perspective is objects appearing smaller as they go off into the distance. Perspective drawing is being able to show this in a believable way in artwork.
There are a lot of tutorials here on EasyDrawingTips on the basics of perspective drawing that you can use as reference.
A good one to start with is:
Perspective Drawing Tutorial for Beginners
Tip #10 – Learn to Shade
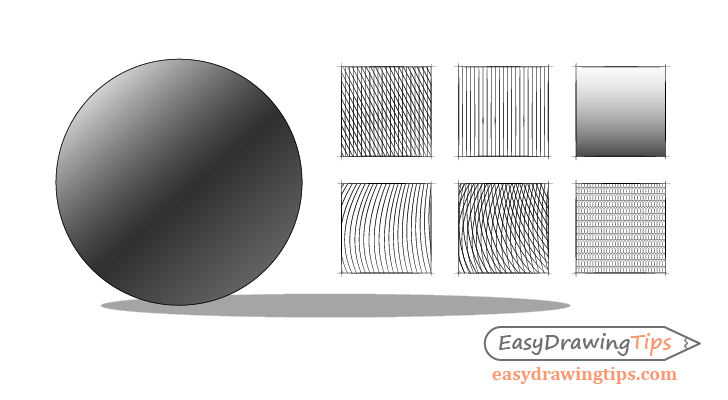
Shading can be used to give an otherwise flat looking object an appearance of volume.
There are a lot of shading tutorial of varying difficult here on EasyDrawingTips going from the very basic stroke and simple 3d shapes to more complex objects.
For examples of different types of shading strokes and tips on when to use them see:
Shading Techniques and Stroke Types Drawing Tutorial
For beginner friendly pencil shading tutorials of some basic 3d objects see:
Tip #11 – Learn About Color
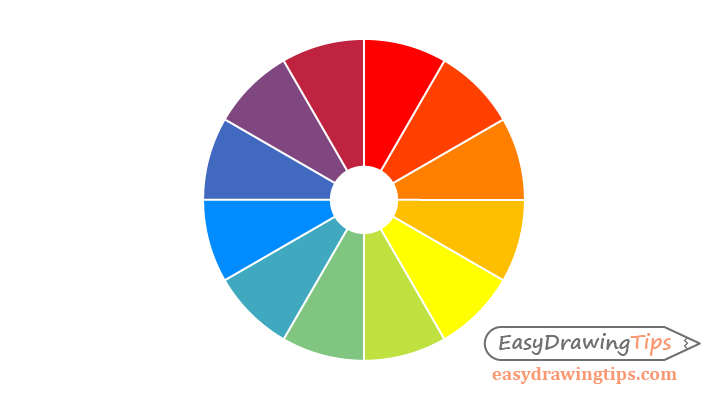
Learn about the Color Theory and the Color Wheel.
A basic explanation of the color theory would be the way different colors combinations can work with one another based on their arrangement on the color wheel.
(Eventually there should be a tutorial on this here on EasyDrawingTips as well)
Tip #12 – Flip Your Drawing Over to See Mistakes

It can sometimes be difficult to see the mistakes in your own artwork. One great trick that can help is to either flip your drawing upside down or to hold it up to a mirror. This will give you a fresh look at your work and make it much easier to see any mistakes.
Conclusion
Learning the basics will allow you to move on to more complex things such as working in different mediums. Of course you can also try new things at the same time as you are learning the basics.
Check out the other tutorials here on EasyDrawingTips for more drawing advice!

