How to Draw a Potato Step by Step Tutorial
This step by step tutorial shows how to draw and shade a realistic potato with pencil drawing examples and simple instructions for each step.
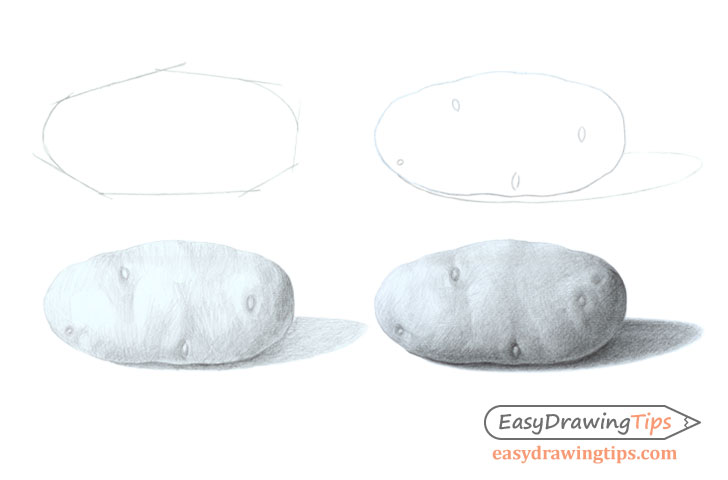
Step 1 – Make a Simple Sketch of the Shape of the Potato
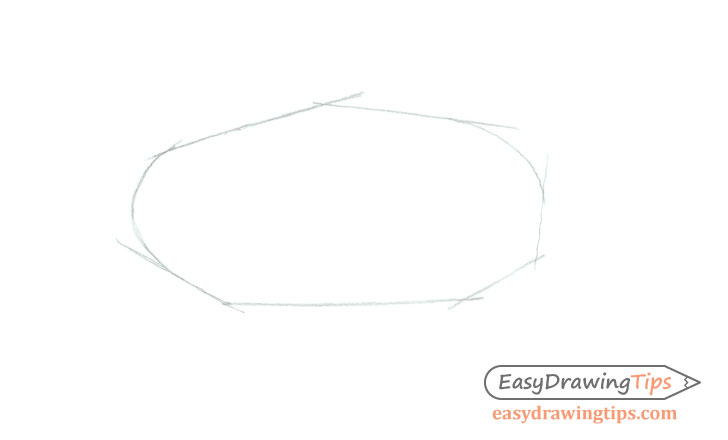
Start by making a rough outline drawing of the potato. The goal is to make a “construction frame” that will define that particular potato by estimating its length, height and major bends and curves.
Be sure to draw very light construction lines as most of them will be erased in the next step.
Step 2 – Make a Line Drawing
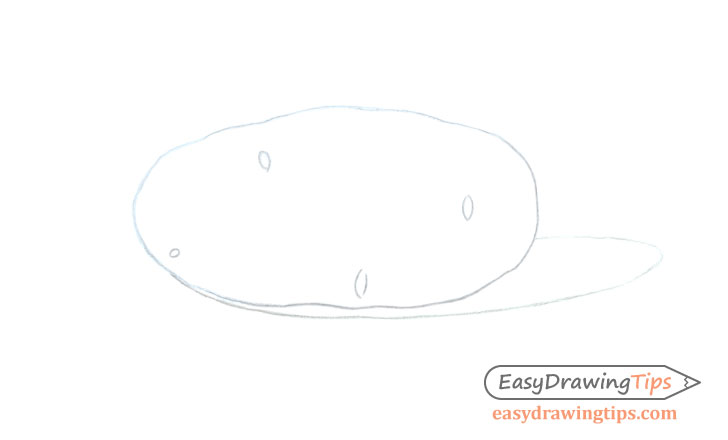
Inside the frame from the previous step draw the organic shape of the potato with the smaller bends and curves. Afterwards you can erase any access lines from the previous step.
Once you have the basic line drawing of the potato outline the shape of its shadow to help you shade it in the next step. In this example the main light source will be coming from the upper left of the drawing area so the shadow will be cast to the right of the potato.
Step 3 – Apply Basic Shading
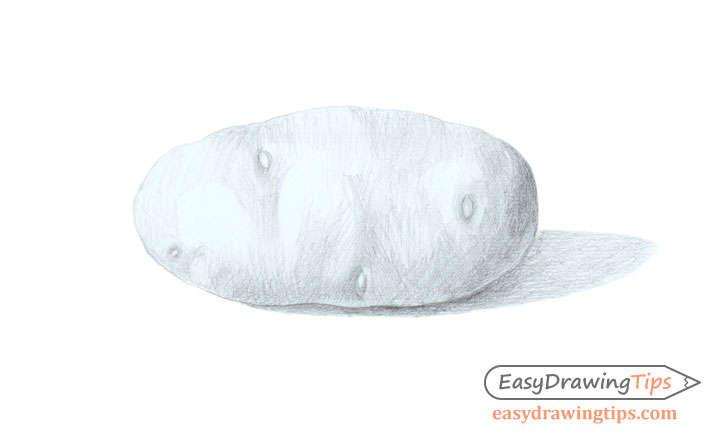
Begin the shading process by applying patches of one directional sets of strokes. while the strokes in each patch can be roughly parallel to one another try and rotate the overall patches to wrap around the shape of the potato and its inner bumps. You can then apply other sets of strokes over top of these to create a crosshatch and darken the different areas of the potato as needed.
As already mentioned in this case the light is coming form the upper left area of the drawing. This means the darker areas will be towards the bottom left of the main shape of the potato as well as on any of the smaller bumps and curves in its shape.
There will also be some light reflecting reflecting from the surface the potato is sitting on which will create a slightly lighter area on the very bottom right area. Please keep in mind that though it will be brighter then the rest of the “in shadow” area of the potato this area should still be significantly darker than the areas lit up by the main light source.
In addition to shading the potato itself you can also shade its shadow in a similar manner. You will also want to make the shadow darker near the base of the potato and lighter as it progresses further away.
For an explanation of different types of strokes see:
Shading Techniques and Stroke Types Drawing Tutorial
Step 4 – Darken the Shading & Finish the Drawing
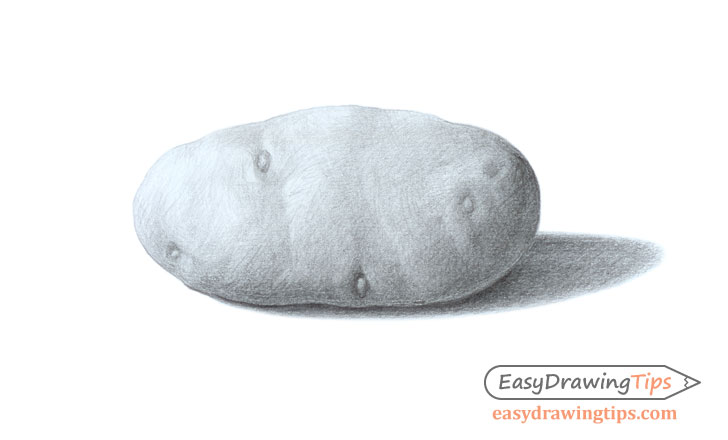
Keep on applying more sets of overlapping strokes to smooth out the texture of the potato as well as its shadow. You want to do this gradually over the entire surface to avoid making any one area too dark.
When shading the potato itself try to not fully blend all of the strokes into smooth gradients. Leaving some of the crosshatch visible (especially in the lighter areas) will give the potato a slightly rough looking texture that most potatoes tend to have.
As opposed to the potato itself you can pretty much fully blend the strokes for the shadow.
Conclusion
Drawing a simple potato can be great practicing for beginners and intermediate artists. Most potatoes have fairly simple overall shapes with just enough bumps and bends to give a little bit of extra challenge when shading.
If you would like some easier tutorials try:
For similar tutorials see:
- How to Draw a Realistic Pumpkin Step by Step Tutorial
- How to Draw an Eggplant Step by Step
- How to Draw Nuts Step by Step

